Brochures
Introduction
Brochures are one of our most popular printed products.
Used by so many businesses as an important marketing tool.
With the latest presses and finishing equipment it will be done and delivered in next to no time!
Examples
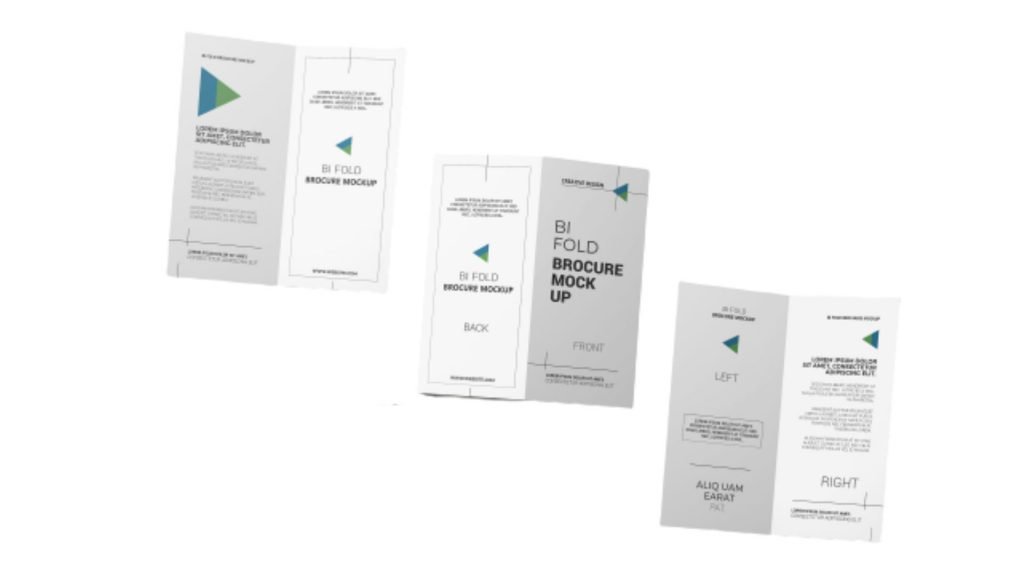
Bi Fold

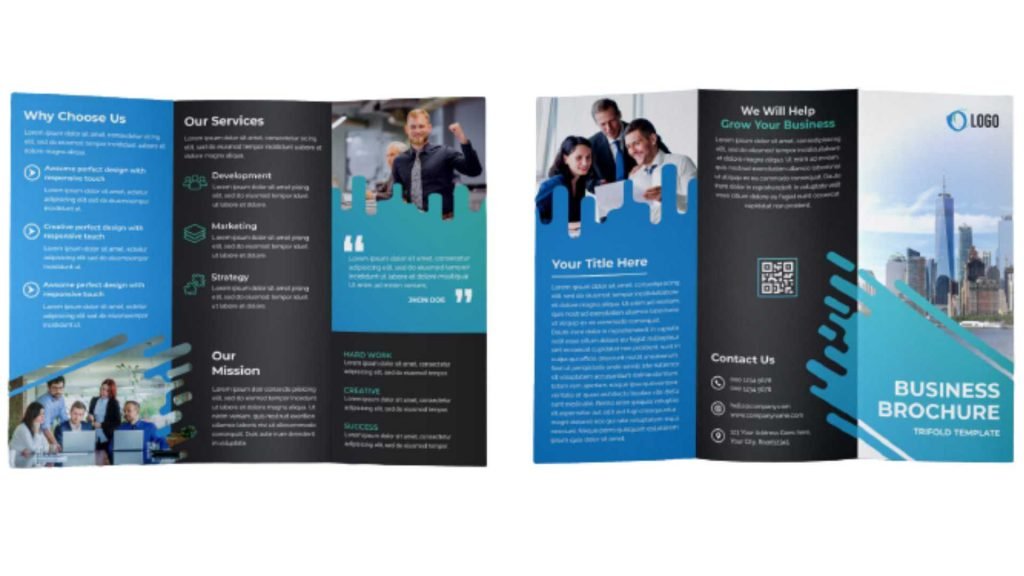
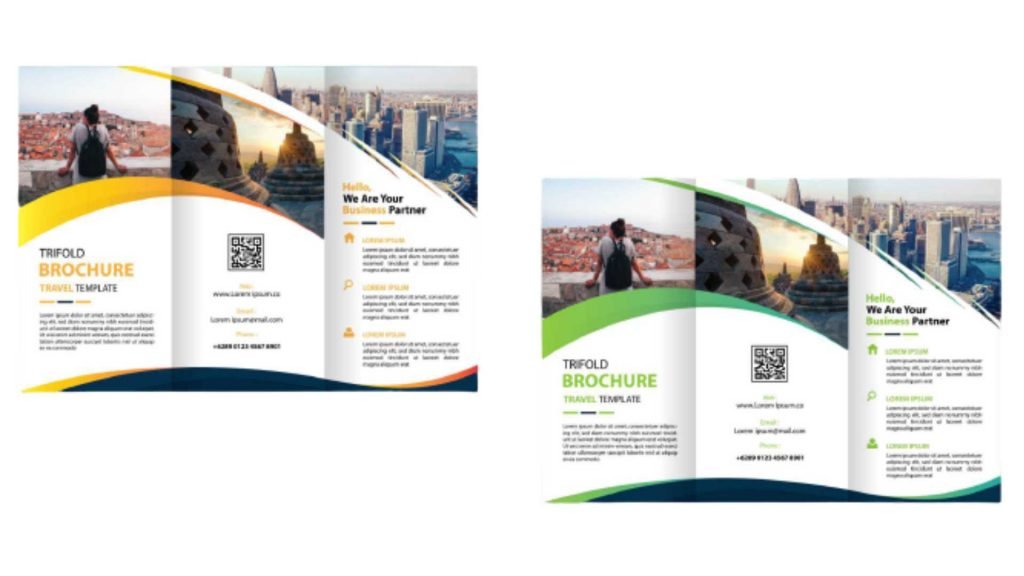
Tri Fold
Options
Stock Options
100gsm Laser
115gsm gloss
150gsm gloss
170gsm gloss
170gsm Matt Art
250gsm gloss
Fold Options
A5 Fold in half
A4 Fold in Half
Roll Fold to DL
Z Fold to DL
A3 Fold in Half
Other Options
Bundling – Rubber Bands
Bundling – Shrink Wrapping
Perforate
General Design and Printing Tips
Text and non-bleed images should always be kept at least 3mm from the trim line.
Thin borders on 2 sided artwork are not recommended due to 1-2mm movement in the printing and finishing process. It is difficult to produce an even border on 2 sides for this reason.
Complete Print always prints head-to-head orientation, so all supplied artwork should be supplied as such. Please keep this in mind for folded products like Christmas Cards or rotated orientation books like calendars.
Use a CMYK colour finder for consistent and predictable colour results.
Folding & Scoring
To minimise cracking on folded jobs, we recommend scoring the fold lines.
Rich Blacks
We strongly recommend you use CMYK Rich Black on large areas of black to ensure a nice solid result. A good mixture for CMYK Rich Black on;
Heavier stock weights use 60 / 50 / 50 / 100
Lighter stock weights use 30 / 0 / 0 / 100
Proofing
Complete Print does not supply PDF proofs for orders under the value of $800+GST. If your order is above $800+GST, please request a proof in the order notes.
A number of hard copy proof options are available for purchase, however these are not colour accurate for offset printed orders. These can be requested in the order notes and charged accordingly or can be requested at quoting stage.
Perforations
When your artwork is laid out, create a new layer called “Perforations”. Choose a bright colour that is not featured in your artwork (100% Magenta works well), then draw dashed lines on “Perforations” layer where you intend the perforations to be placed. Turn off layers except “Perforations” and export the files as a 300dpi PDF with crop and bleed marks. Now turn off the “Perforations” layer and export your artwork as a 300dpi PDF with crop and bleed marks. Upload both files to us for printing.
Please Note
The reverse mirrors the front so check that your perforations are in the correct location (flipped) on the reverse. Ensure your artwork is centred on each page so perforations line up exactly when flipped.

